Pages

Showing posts with label 12 Days of Christmas. Show all posts

Monday, December 13, 2010

On the 12th Day of Christmas . . .

my Imaginisce DT gave to me, another fabulous post with an amazing finally!!!  (be sure to read this post all the way through you won't be disappointed)

Hello Everyone, today's post is being brought to you by me (Tammy Wark) and my fellow DT Shemaine Smith. 

We have truly enjoyed spending the last 12 days with you sharing some super fabulous creations and sadly today is the last of our 12 days of Christmas posts but with that comes some super exciting news that Shemaine will share with you later in the post.  For now I am going to share my Cottage Christmas creation . . . and since we are all counting down the days to the big holiday I thought I would create a "Countdown Calendar"!.
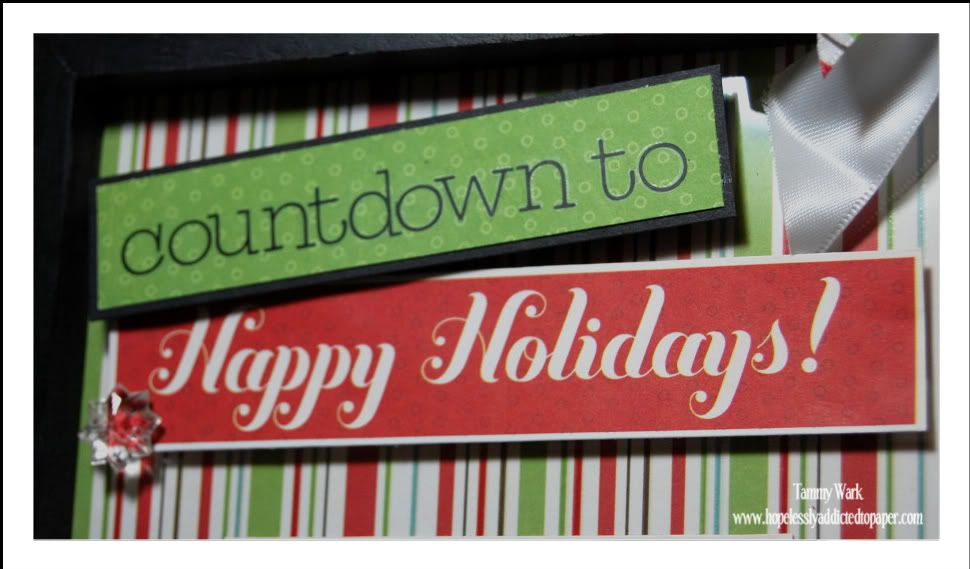
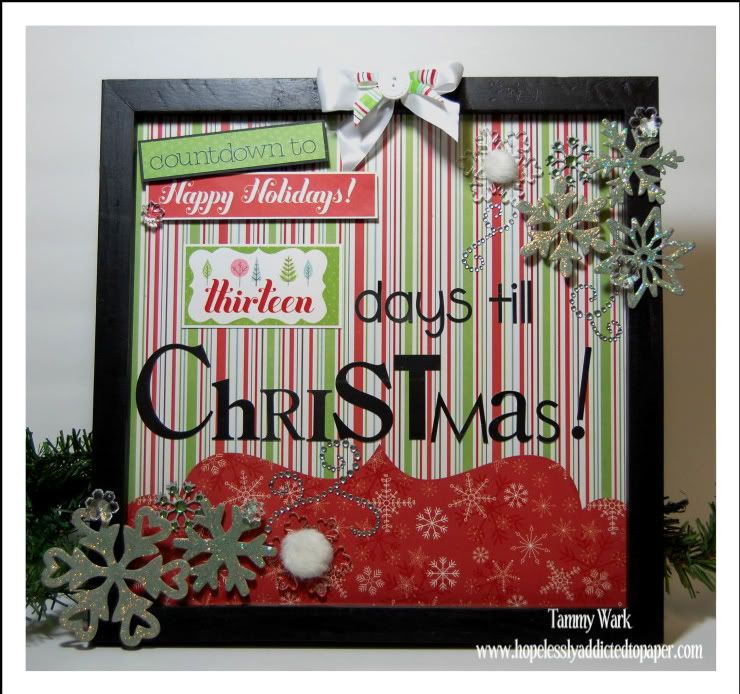
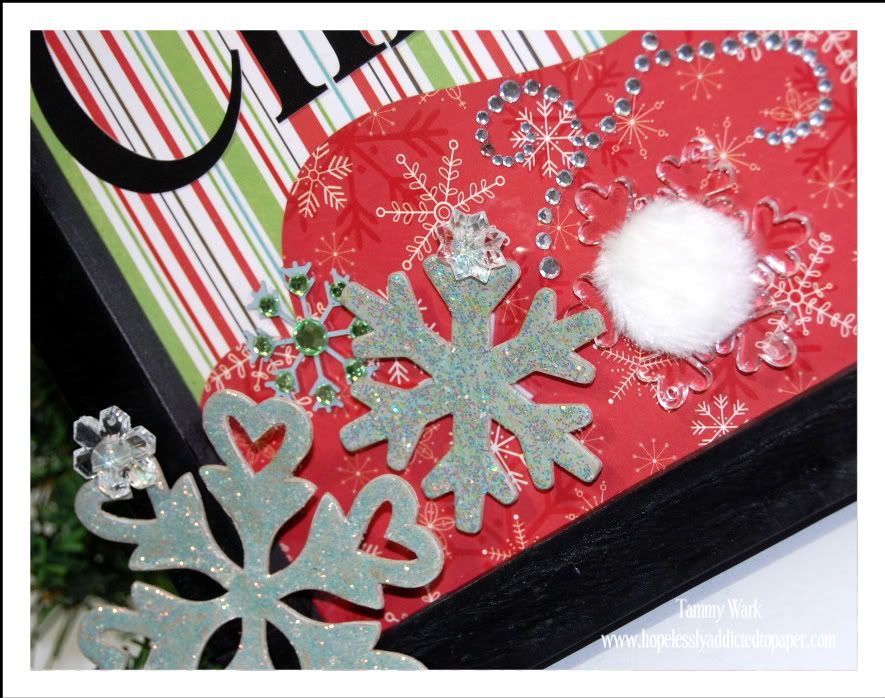

To make this super fun interactive calendar I started with an inexpensive 12 x 12 Scrapbooking frame.  I simple inserted a background page where you would normally put your layout and then decorated the frame using chipboard shapes, Embellishments, my i-top and i-rock. Next I added the words "days till Christmas" leaving enough room for my numbered day die cut on top of the glass along with some tacky adhesive for the changing numbered days.  I also added a little pocket on the back to hold all my number die cuts. 

Easy Peasy!

Please take a few moments when your done here today to stop by my blog and check out more close ups on this project and see how you can win a little Christmas cheer from me.


Hi there, Shemaine here taking over to finish off our 12 days of Christmas. I'd like to give a big thanks to Tammy for an awesome project!


I love holiday home decor projects. So I whipped up a cute holiday NOEL banner using our Cottage Christmas collection. This banner was really quick and easy to create. For complete directions you can see this post on my blog.


I used my Martha Stewart scoring board to quickly whip up the rosettes behind the chipboard greeting.


The banner was cut using my Cricut Celebrations cartridge and I used the back packaging of our Sticker Stackers shown here


I added the finishing touch of our crystal snowflakes at the bottom of each banner 
with a touch of bling using the i-rock


We hope you've enjoyed our 12 Days of Christmas celebration as much as we have! For those of you that have been leaving comments on each post every day the wait is OVER!!! Here's our Grand Prize announcement for today:

Our Grand Prize winner will win get every tool from Imaginisce that we have given away during our 12 Days celebration, an entire collection of Cottage Christmas and....
A Cricut Cake Machine!!!


Thank you for joining us each day and for all your comments! Wishing you all a very Merry Christmas and Happy New Year from everyone at Imaginisce and the Design Team!

Wednesday, December 8, 2010

On the 7th Day of Christmas our DT brings to you...

Happy December, Friends!
It's Cindy here today with a couple of quick and easy projects
 to whip up from scraps for a bit more holiday decor.

Don't miss the second post at the end of mine today for some very exciting news!!!

Now onto my tutorial...I am certain I have used EVERY SINGLE scrap I had from this Cottage Christmas line-
I can't stand to part with ANY of it!

My first project is this wall hanging made from a prefab wooden sign that I picked up at the local Dollar store (I think I paid $2 for this one). I traced a template around my base and then layered my papers until I found a LO that was pleasing to the eye. I then glued onto my base (I used gluestick, covered the ENTIRE area, applied the paper and then used a straight edge (popsicle stick in my case) and made sure there were no bubbles and the paper was really stuck well). Next trim the edges (sand if you like but this will take a bit longer). I didn't sand and just covered my edges with some crocheted lace (adhered with my new cordless glue gun from Imaginisce).
Using more scraps, I then made some rosettes and leaves (all handcut) and glued down with my glue gun.
Add alphas, trim & bling and you are all set!


I always hang onto any scraps I have of white cardstock as well, as it is
ALWAYS something you can find a use for. I made all 3 of these
cards from paper scraps, rub-ons, ribbon & stickers.
And since I used all the same line, they come together quite quickly.


Now how about if I give away an entire Cottage Christmas collection to one lucky commenter today? Yep that could be you so leave me a comment on this post telling me what your favorite thing to create with your scraps are! Winners will be announced December 14th!

There will be a GRAND PRIZE WINNER at the end of the 12 Days who will win one of everything given away during the 12 Days of Christmas Hop - just make sure you have commented on ALL blogs and ALL 12 Days posts ...

Now here's the special post I mentioned above from our wonderful and talented Design Team Coordinator Lori Allred:

As seen on TV....This project segment airs on KTVX Channel 4 - Wednesday December 8th from 10:00-11:00 MST.

 
I am very excited to be invited to do a segment on Good Things Utah on Wednesday for Imaginisce. More detail about the projects can be found on my blog! I'll be featuring ideas for Simple Christmas Neighbor Gifts. Best part is that you can make these with very little effort and all of them feature the Gingerbread Village border paper...

Christmas Fudge Gift Idea
This has been one of my favorites over the years and couldn't resist sharing these with everyone. It's super simple and only requires those large candy bars, like a Hershey's bar or Symphony bar. Wrap it with some Cottage Christmas paper and print out the poem (download your copy). 


Visit my blog to download a copy of this poem to reprint for your neighbor gifts.

Bucket of Popcorn
My families favorite thing ever are those big buckets of popcorn for Christmas. But when I saw these fun clear paint buckets at Ben Franklin (or Roberts...can't remember) I had to put caramel corn in it and dress it up a little. Again, I've only used a strip of the border paper, added a ruffle and center fan folded flower piece and voila, a darling gift for a friend or neighbor!

 I'm going to post a tutorial on how to recreate this fun embellishment next week on my blog...come back and visit to learn how easy these are to recreate!

Washer and Dryer Gift Idea
A good friend of mine, Andrea McAllister gave this darling gift out to her neighbors last year and I had to copy it! In fact, I started shopping for clearance dish clothes and hand towels I could use for this. But it's the darling poem that makes this gift rock. Scroll down to download a copy of the poem to reprint!! 


Visit my blog to download a copy of this poem to reprint for your neighbor gifts.

Fillable Paint Bucket Instructions
This project was the one that we showed and assembled on air. The directions are on the Good Things Utah website and my blog.


Hot Cocoa Gift Idea

Hot cocoa is a big hit at our house during the winter and we never have enough of it. How easy is it to take your scraps of paper and wrap the containers. I then tied some of my bakers twine around the container and strung Holiday Wishes Chipboard Stickers and a candy cane to the front. Note: You'll want to peal the adhesive backing off the chipboard stickers and punch a hole through the top! 


Cookie Box Gift Idea


Fill a plain box with treats you purchased or made and wrap it with one of the paper border strips, add a little bling with your i-rock tool and embellish with rub-ons and stickers.


2nd GIVEAWAY today: 
Now no blog post is complete without a fun giveaway! As a thank you for stopping by and reading through this very long post, we'd like giveaway a 3 Holiday Traditional 6x6 Mini Album KITS with an i-rock tools (you need one to complete the album)! This giveaway of course is sponsored by Imaginisce and this is how you can enter!

1. Go back and check out the 12 Days of Christmas (only 7 days have posted) posts on the Imaginisce Blog and let us know what you've like the most!
2. Follow my blog (and leave a little comment LOVE)
3. Follow Imaginisce's blog

Enter a comment for each thing you complete! We'll announce the winner on Monday, December 9th.

Tuesday, December 7, 2010

On the 6th Day of Christmas, our Design Team brings to you ...


LOADS MORE INSPIRATION, more cool Tutorials and a chance to win the entire Christmas Cottage Collection .... (YEAH, sing-along with us) ... - WOOHOO!!!!

Today Tomomi and I (Tracy Gardiner) have the pleasure of sharing a little of our Christmas Spirit with you all the way from Japan and South Africa.

Let's start off with Tomomi's gorgeous Wreath -


Requirements: -

Wreath
18 medium Brad Daddies
Red Ric Rac
1 sheet Cottage Christmas Peppermint Stick patterned paper
1 sheet Cottage Christmas Swirly Snowflakes patterned paper
Cottage Christmas Acrylic Snowflakes
i-Bond Glue Gun

Assembly: -

1.  Cover 18 Brad Daddies in Peppermint Stick paper, alternating between the stripe and the holly sides;


2.  Thread the brads onto the Ric Rac as shown;


3.  Wind the Ric Rac and Brads around the Wreath;


4.  Using a 2" circle as a guide, draw 6 semi-circles 3/4" high onto the back of the Swirly Snowflakes paper;


5.  Cut the semi-circles out creating 6 scallops and a small tab at the end (as shown)


6.  Divide each scallop into 8 parts and fold into a "concertina";
7.  Attach the one end to the other with the tab - Make 6 of these;


8.  Cut out a circle for the base.  Flatten the flower and glue it to the base;


9.  Attach the flowers to the wreath with your i-Bond glue gun and add acrylic snowflakes to the centre of each flower.

HOW EASY WAS THAT???  This could be done in an hour at the most and would be awesome for neighbour gifts too ... LOVE THIS, Tomomi ...

Then here is an Advent that I created for my son, Bryce to remind him of the true meaning of Christmas - I hand-wrote Scriptures on to the backs of each of the Tags.  You could attach a chocolate to the back of each tag or even a clue to where a little gift has been hidden for each of the 12 Days of Christmas ...


It was sooo easy to make and didn't take much time at all ... Pop along to my Blog where you will find full instructions on how to complete this simple project ...


And of course we cannot forget about another awesome GIVEAWAY - the entire Cottage Christmas Collection - how awesome is that - trust me, this is one of the funkiest, most versatile Christmas collections out there this year - one of my all-time favourites!!!

So, all you have to do is leave a message here, as well as on Tomomi's blog and my blog, and then keep checking back to see if you've won.

There will be a GRAND PRIZE WINNER at the end of the 12 Days who will win one of everything given away during the 12 Days of Christmas Hop - just make sure you have commented on ALL blogs and ALL 12 Days posts ...

Merry Christmas to you and your families from the both of us - may your hearts be filled with the Spirit of Christmas - PEACE. HAPPINESS and LOVE ...

Love,
Tomomi and Tracy

Sunday, December 5, 2010

And on 4th Day of Christmas there was "The Advent Calendar"...by Sam and Heather

both Aussie and American style.. But much the same. LOL!!!

Hey y'all this is Heather from the Imaginisce DT and Sam Hauzer and I (Heather Carpenter) are here for your blogging pleasure today. On the 4th day of Christmas we are showing you two different, but very similar versions of an Advent Calendar.

We both choose to use the Kaiser Craft Advent calender to alter with the awesome Cottage Christmas collection from Imaginisce.

So here is mine.


Did you notice that I used the I-top punches for the Christmas tree brances?

I have to say, I love how this calendar turned out, but it was a bit of work. If you check out my blog I will show you a tutorial on how I did mine.

And here is Sam's version of the Advent Calendar:

In our house, Christmas is a month long celebration, and it all starts with the advent calendar! I have been hoarding this Kaisercraft Advent Calendar for a while, and then when I saw the Cottage Christmas collection, I just knew I had the right papers to put it together!


If you like the Cottage Christmas collection that Sam and I used on our Advent calendars then leave a comment on this post and on mine and Sam's blog and you will be entered to win an ENTIRE COTTAGE CHRISTMAS COLLECTION from Imaginisce.

Thanks for stopping by and don't forget to stop by again tomorrow. After all it is the season of giving......

Saturday, December 4, 2010

Baby, It's Cold Outside!


For the 3rd day of Christmas, how about a little Blog Hop to get the blood pumping? Cause you know when it is cold outside, you better get a move on to warm you up. Cold is something Cari Locken and I (Liz Qualman) know only too well - Cari being from Canada and me from Colorado. We get it! So to kick off our little hop, we have a challenge for you with a little motivation to get you going.
How about the entire Cottage Christmas collection just for two quick hops and a comment back here? Sounds like a great deal...right? Below are a few sneak peeks to get you thinking about our theme, but you have to visit both Cari's and my blog to determine what it is for sure. Please leave a comment on each of our blogs and then report back here to tell us what you think it is. Easy as hot chocolate, marshmallows and whipped cream on a cold winter day?
Here's a little tease from Cari to get you thinking about our theme, " I just love this time of the year. There’s so many exciting things happening and I find that we just get so busy with all the various activities & events that we forget to slow down and just enjoy being with each other. So, I created a project that will help me remember each & every day, all those special events, large or small, throughout this holiday season."
A little teaser from me - I am always amazed at how fast the time goes and how quickly winter is upon us here in Colorado. We are already on the ski slopes, putting up Christmas trees and lights and getting ready to hunker down and stay snuggled away from the cold. This project is a holiday reminder about the life we are living here in the Rocky Mountains. There is also a full tutorial on my blog and below.
Come visit us:

But Wait!!! For an added bonus, Teresa Collins is featuring the Imaginisce i-rock on her blog today as part of her Holiday countdown. Hop on over there and see what she has been up to and grab another opportunity to win some goodies!

Download Liz's complete tutorial below.

Mitten Wreath Tutorial -

Friday, December 3, 2010

12 Days of Christmas - Day 2

Happy Friday!

It's Erin Bassett in today sharing with you how to create this holiday wreath.


I originally got the idea after seeing a beautiful wreath Charity Hassel made using the same technique and I thought it would be perfect for this project.

Here's the supplies you'll need:
  • i-top and a small (16mm) brad daddie
  • 3 sheets of double sided patterned paper (I used two sheets of"Peppermint Stick" and one sheet of "Swirly Snowflakes" from the Imaginisce Cottage Christmas line.)
  • Imaginisce "Season Greeting" rub-on words from the Cottage Christmas line
  • 2" scrap of red felt
  • 8" chipboard circle
  • ribbon
  • doily
  • baker's twine
  • Glimmer Mist - if desired ( I sprayed my wreath with a light coat of "Marshmallow")
  • "leaves"( I cut two petals off of the poinsettia flower from the Imaginisce Polar Expressions line, but you could always cut them out of scraps of paper or felt.)
Ok, get started by cutting/punching all the 1 ½" circles that you'll need out of two pieces of "Peppermint Stick" patterned paper....you're going to need a lot of them! I used my Cricut to cut out 49 of them per sheet of paper, but you can punch them by hand if you don't have a die-cut machine.


Next, fold each circle like the photo below. Don't worry if some of them have a bit of character!


Once your circles are all folded you can take four of them and hot glue them together so that they are stacked inside each other.


Next, adhere a 7" circle of "Swirly Snowflakes" to your 8" chipboard circle. Use your glue gun to adhere each of your sets of folded circles onto it.

If you want to add a few quick sprays of "Marshmallow" Glimmer Mist to your wreath now's a great time to do it....it add's the perfect amount of Christmas cheer! ;)


Next, cut out the words "Merry Christmas" out of the rub-on sheet and rub them onto the doily. -I wanted to jazz my doily up a but more so I weaved a piece of baker's twine around it and then tied the ends into a bow.

Create the holly by using your i-top and a scrap of felt to make a brad. (Here's a video on how to do it if you need a visual.) Then just adhere your leaves and brad to the doily, and then adhere the doily to the center of the wreath. Use your glue gun to add some ribbon to the back side of your wreath so you can hang it up and enjoy it!


Edited to add: Oh my word...I forgot to let you know about the PRIZE we are giving away today!!! Sorry! Add your comment below to enter to win an i-rock and the entire collection of Cottage Christmas!

Merry Christmas!

LinkWithin

Related Posts with Thumbnails