Pages

Showing posts with label milk paint. Show all posts

Friday, February 27, 2015

Celebrate Your Day

A fun little card set using the amazing Milk Paints.


"Your Day" card set

paperANDi, sharing with you some more cards featuring Imaginisce's milk paint collections!


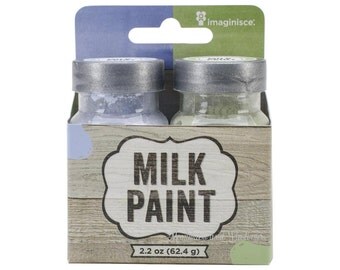
Grab your favorite milk paint and mix it with equal amounts of water (less or more depending on how opaque you want it). 


Apply some texture by using some paste to create an awesome background! 


Supplies:
Imaginisce: Patterned papers (Little Princess); Imaginisce cut files from the Silhouette's store.

Wednesday, February 25, 2015

Authentic

Look how easy it is to use your stamps along with our Milk Paints!!! What a great idea!


I am so excited to play with Imaginisce's Milk Paint.  I have a few ideas running through my brain and today I'm going to show you one of them.  I'm going to stamp on top of my Milk Paint!


Gather your supplies and mix up your Milk Paint according to the directions on the package.  


I used American Crafts Cardstock to paint on.  Using my small paint brush, I simply started painting.  There is nothing special you have to do here.  


Next I used my Imaginisce Stamp, inked it up and stamped it directly onto the Milk Paint.  Just make sure your Milk Paint is dry.


How easy is that?  I really love the effect it created and it was so easy to do.  I just love all of the fun details on this layout. Here are are few more pictures.


I also used my Silhouette Cameo to cut out the cute leaves.  I love Imaginisce's Enamel Dots and Plastic Buttons.  I used them to dress up my page even more.  Can you see where I used my I-Top?  Yep, I love creating custom brads to fit my projects.


I hope you have enjoyed my project today!  If you haven't tried Imaginisce's Milk Paints...grab yourself some!  I love the fact that I can make as much as I need for a project.  That way there is no wasting or drying up.  Oh, and because it is water based, it is easily washed off!


Imaginisce Supplies:
Outdoor Adventure (Snag 'Em Stamp), Bushel 'O Fall (Die Cuts), Family Fun (Plastic Buttons, Adhesive Enamel Dots and 6x6 Paper Pad), 16mm Punch, 22 mm Punch, 16 mm Brad Daddies, 22 mm Brad Daddies and I-Top.

Other Supplies:
American Crafts (Adhesive Foam Dots, Cardstock and Thickers

Monday, February 23, 2015

Love You More

Our Design Team have created some more amazing projects using our Milk Paints.  Today Monique shares this stunning & beautiful layout.


Let me start with showing you what I made and then I'll proceed showing you how I did this.

So here's my layout: 


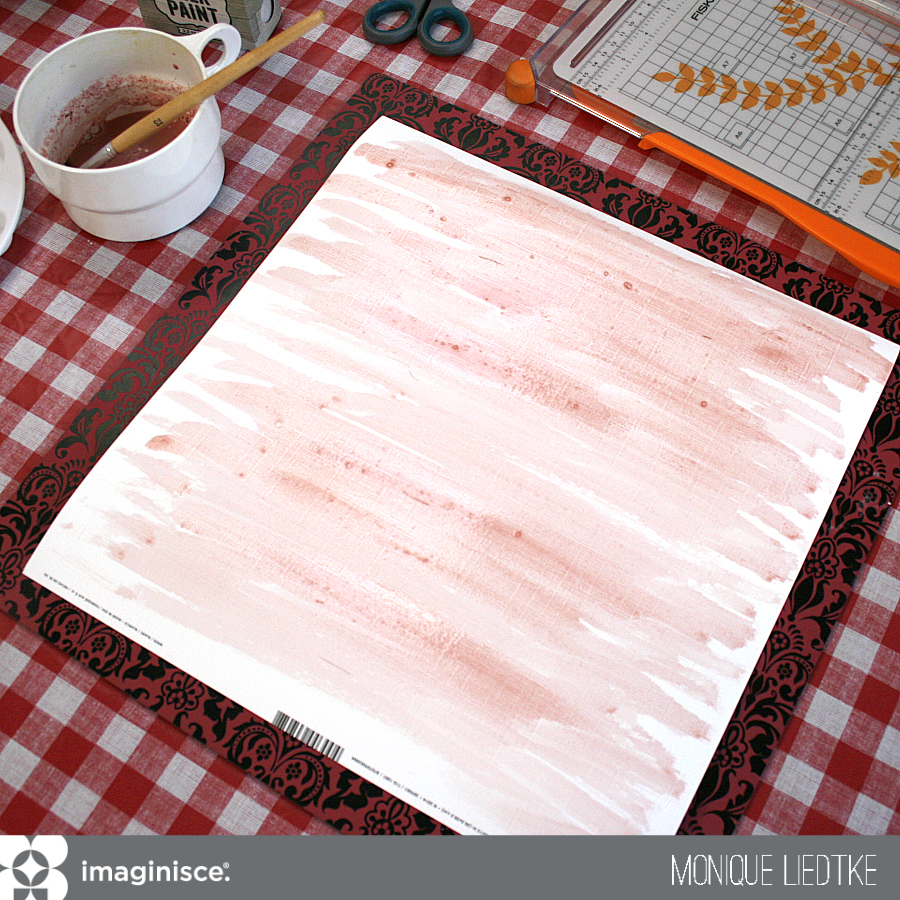
... and here's what I did: I started with the pink milk paint and put a little bit in a cup: 


Next I added a bit of cold water and stirred: 


Even though the water was cold it dissolved perfectly. I decided that the color was a bit too light for my taste and added a bit of the red milk paint to the solution:


This was exactly the color I was looking for and so I painted my entire white cardstock in this color: 


Next I chose a background cut file from the Silhouette online store and cut this: isn't it fabulous?! I was so pleased with the result! Really love the stripy water color look!


I placed this background on a sheet of white cardstock and used my sewing machine to stitch four horizontal lines. 


Last but not least I placed my (matted) photo on top and embellished with stickers, washi tape and wood veneers.


Supplies:
Imaginisce - My Baby (patterned paper), Love You More (patterned paper, stickers), washi tape, milk paints (pastel pink).
Bazzill Basics - Cardstock
Studio Calico: wood veneers
Other: Silhouette Cameo, Silhouette cut file #73273

Thank you so much for stopping by! I hope you've enjoyed my project! 
Monique

Friday, February 20, 2015

Wash it with Milk Paints!

Our designers have been working their magic once again. This time they are using our fun Milk Paints to create with and they are blowing our minds!!!
Check out this stunning layout by Suzanna.


Suzanna Lee

Night Sky wash with Imaginisce Milk Paints

Hi there! Suzanna here to share with you a great technique for using Imaginisce's Milk Paints to create a starry night sky background!

Mix the Milk paint according to the directions on the packaging; mix 1 part water with 2 parts water and mix well. I didn't measure, I guesstimated. I highly recommend the bristle brush part of the instructions and warm water to get a good consistency of the paint. If you omit the bristle brush part, as I first did, the paint is rather chunky... Not fun to paint with!


Now wash your milk paint across your background paper, using wide back and forth strokes. I like to use watercolor paper when I'm creating a background because it makes the color more consistent and the media more dependable. Before the paint can dry, flick droplets of water across the background to create the starry effect as shown here in the picture. It's subtle, but it adds more interest to the background.


Now incorporate your background piece into your layout, build and layer and have fun. Remember that the watercolor paper will probably curl so putting a heavy book on top of the paper might be necessary once dry and before you construct.


The moon and stars stamp from the My Baby collection was a perfect way to compliment my starry night sky. I stamped a slightly darker tone on tone.


Supplies
Imaginisce - patterned paper, bling, die cut shapes and journaling pad, stamp and button: My Baby, Milk Paint
American Crafts - cardstock


Wednesday, February 18, 2015

At the Zoo

We're sharing another awesome project using our Milk Paints.
Check out how Marcia used them on her layout below.


Marcia Dehn-Nix

At the Zoo'
I have another Family Fun layout to share today using the adorable zoo papers. This collection is so fun for all kinds of family outings but I especially love those zoo papers. Imaginisce recently sent me some Milk Paint. Have you tried out the Imaginisce Milk Paint yet? I thought it would be fun to paint a little greenery on my zoo layout. 

First I had to select my photos and come up with a design so I would know where to start painting. Once I was satisfied with a rough layout idea I starting mixing up the green Milk Paint with a little water. I love that I can control how much paint I mix up at a time. 

I painted the green on my background and set it aside to dry. While I waited, I added a little blue Milk Paint to some of the green paint I had already mixed up. I wanted my leaf branch to be a little darker green. Then I dug out a stencil with some leaves and laid it on my green background and started painting. A paper towel comes in handy for blotting the paper if it gets too wet and wiping off the stencil if you want to move it. 

While this was drying, I mixed up a little yellow Milk Paint adding just a touch of my original green so I could add some spatters. When it was all dry I outlined my leaf branch with a colored pencil. Here is the final result.


The sticker stackers make such cute titles!


Supplies:
Imaginisce : Pattern Papers, Enamel Dots, Sticker Stackers (Family Fun), Milk Paint (green, blue, yellow)
American Crafts: Cardstock

Monday, February 16, 2015

Milk Paints in Action!

Have you heard of Imaginisce's Milk Paints?


They are so fun & easy to use. You simply ...

  • Mix 1 part powder with 2 parts water.  
  • Mix it well with a bristle brush and paint away.


Check out how designer Stephanie used them on this card set she created.


Stephanie Dang

paperANDi, here to share with you 3 Valentine's Day cards featuring Imaginisce's milk paint products!  These milk paints are simply amazing! 


You can make them super opaque or dilute it with more water to create a water color effect! 


 Supplies: 
Imaginisce: Patterned papers (Little Princess and My Baby Collection); i-Rock gem setter tool along with hot rocks. American Crafts: stamping ink.

LinkWithin

Related Posts with Thumbnails