Pages

Showing posts with label Imaginisce. Show all posts

Thursday, January 6, 2011

Thursday i-top Intensive Hop

It's sad but true...
We've come to the final day of our i-top intensive!


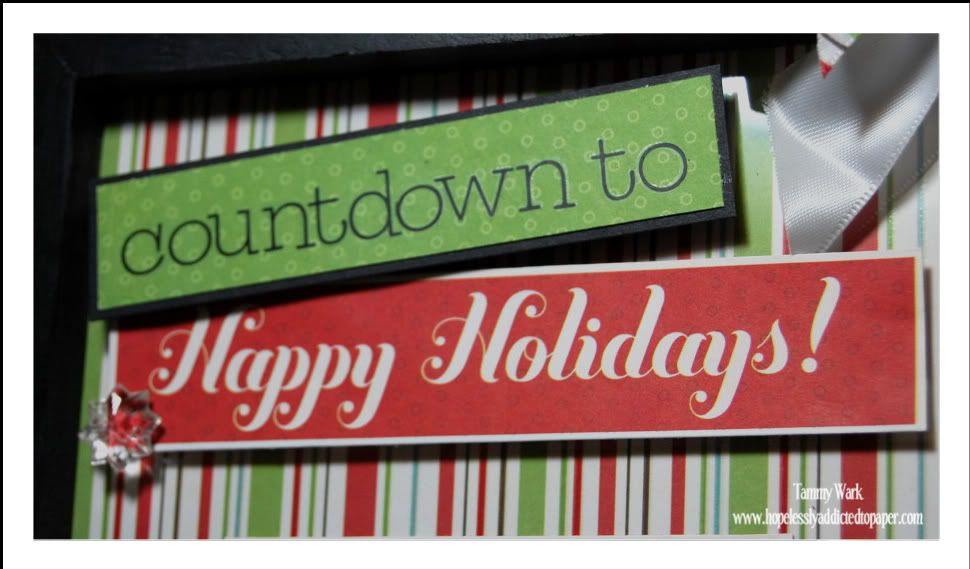
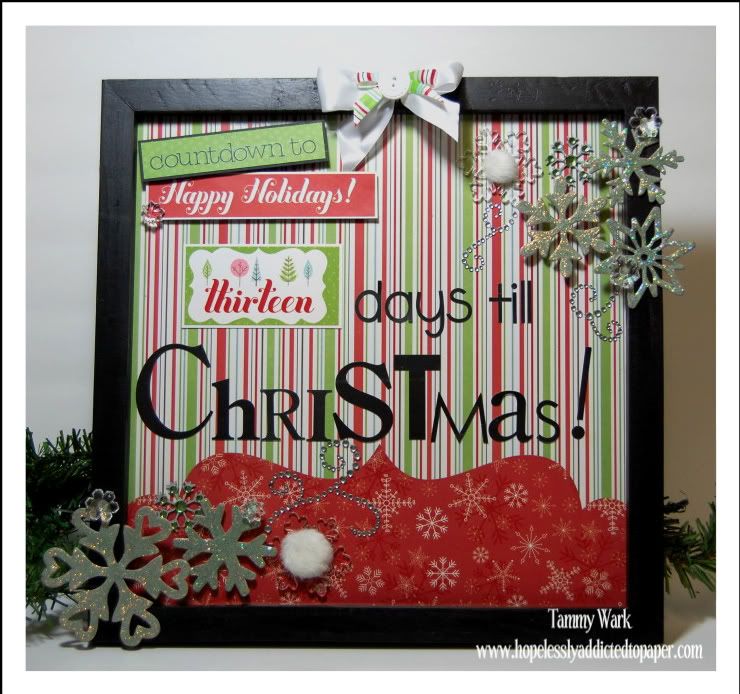
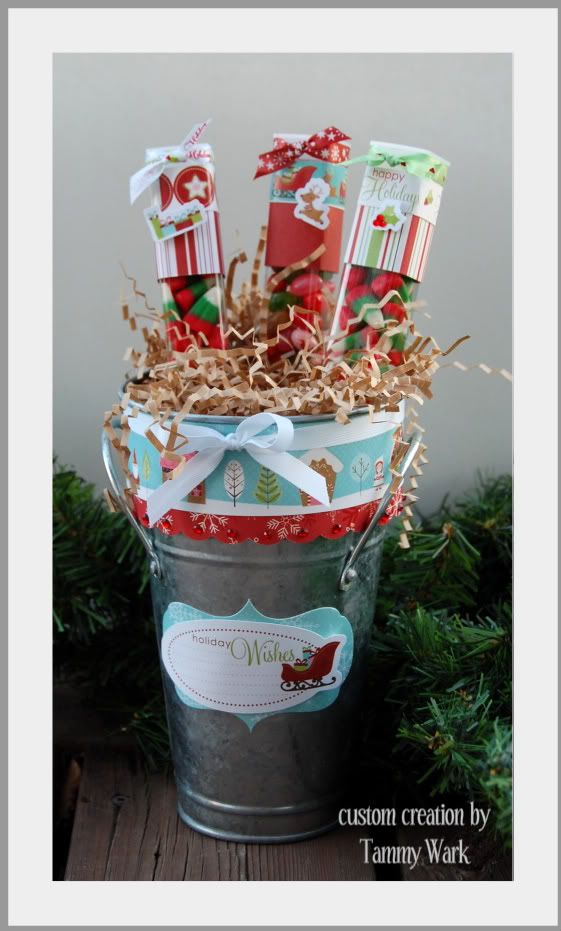
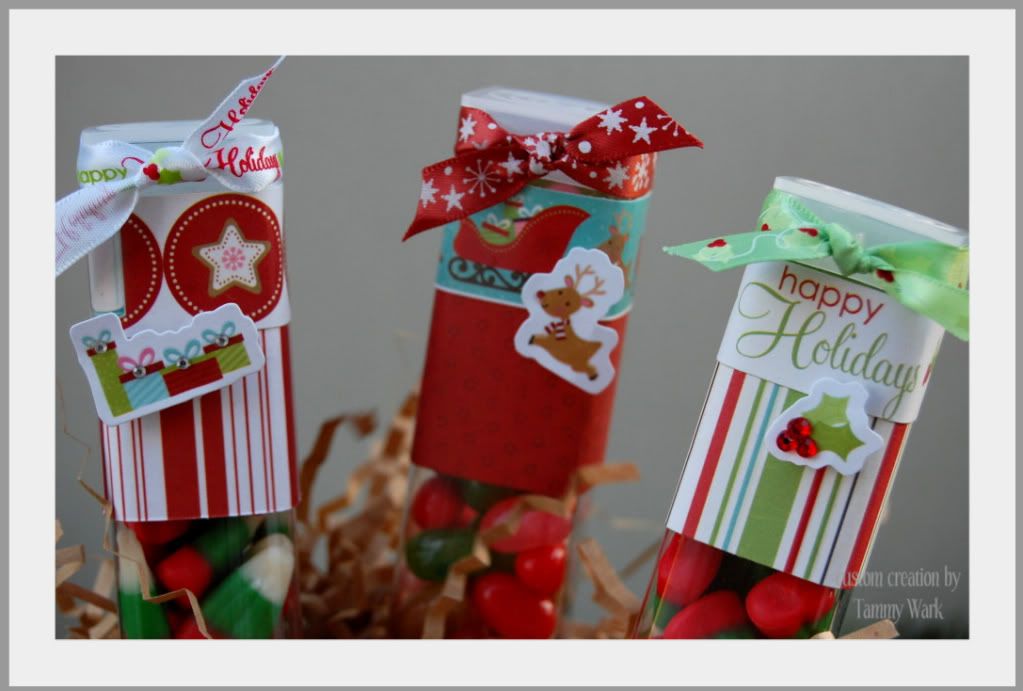
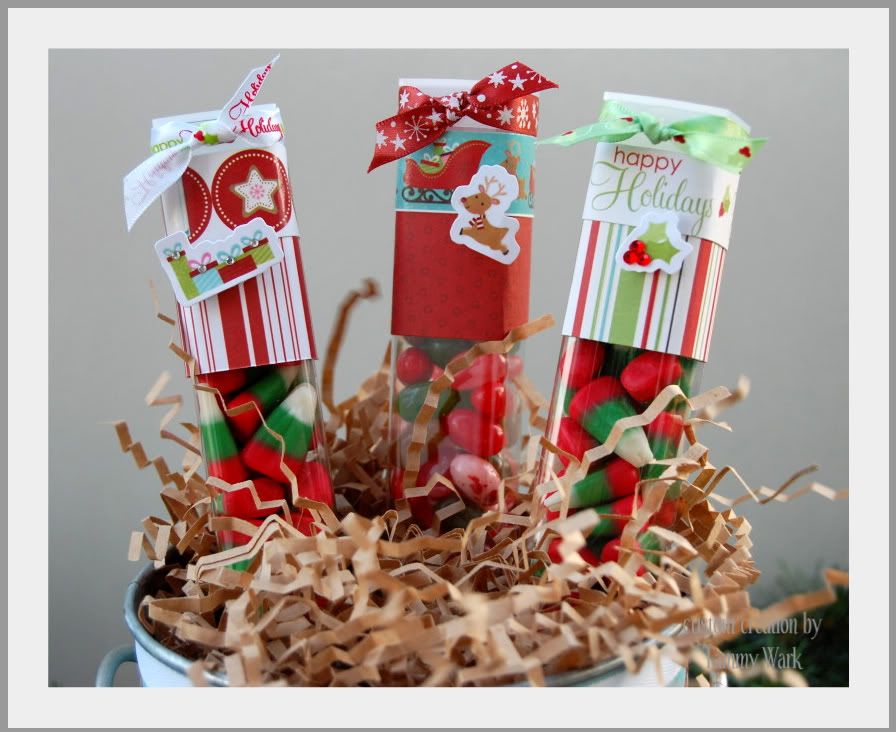
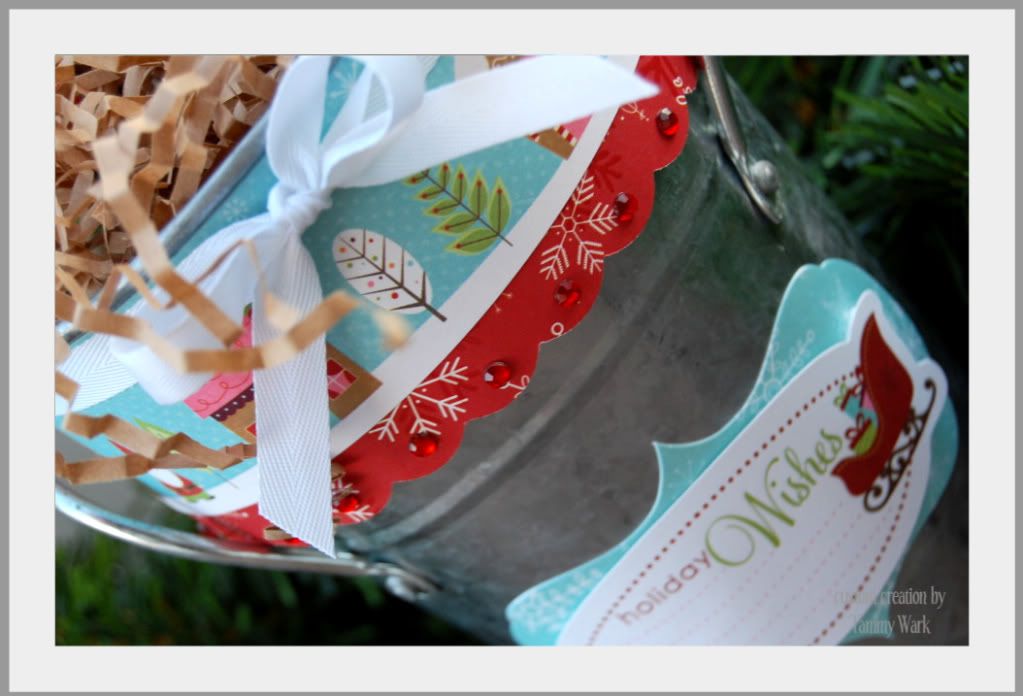
So far this week we've shown you ways to use your i-top with cards, gifts, layouts and today we're focusing on things to wear using the i-top fashion accessories range. And just to wet the appetite, here's a little sneak peek of what's instore along the way.

 Erin Bassett

Sophia Allison

Melinda Spinks

Now if you can't wait to see what's behind these little sneak peeks you had better start hopping your way around the mini blog hop. Don't forget to visit all three of the designer's blogs leaving a comment on each along the way then hoppity hop back here to the Imaginisce blog and leave one final comment telling us what you found along the way.

All of your comments make you eligible to win your very own
i-top and accessories!

Todays blog order:


This week has been all about showcasing the i-top and accessories, showing you different ways to use your tool, giving you tips on maintenance and inspiring you with wonderful creations from the design team! For those of you who already have an i-top we hope you will be inspired to start creating and for those of you who don't... we hope we've convinced you that it's a must have for your tool box. Or perhaps you might be one of the lucky followers to win your very own i-top with one being given away every day this week - not to mention the secret Grand Prize that will be announced tomorrow here on our blog.

And finally... we'd like to thankyou for taking the time to visit during our i-top intensive. Your comments have been invaluable and we are very greatful for our followers.

Monday, December 13, 2010

On the 12th Day of Christmas . . .

my Imaginisce DT gave to me, another fabulous post with an amazing finally!!!  (be sure to read this post all the way through you won't be disappointed)

Hello Everyone, today's post is being brought to you by me (Tammy Wark) and my fellow DT Shemaine Smith

We have truly enjoyed spending the last 12 days with you sharing some super fabulous creations and sadly today is the last of our 12 days of Christmas posts but with that comes some super exciting news that Shemaine will share with you later in the post.  For now I am going to share my Cottage Christmas creation . . . and since we are all counting down the days to the big holiday I thought I would create a "Countdown Calendar"!.


To make this super fun interactive calendar I started with an inexpensive 12 x 12 Scrapbooking frame.  I simple inserted a background page where you would normally put your layout and then decorated the frame using chipboard shapes, Embellishments, my i-top and i-rock. Next I added the words "days till Christmas" leaving enough room for my numbered day die cut on top of the glass along with some tacky adhesive for the changing numbered days.  I also added a little pocket on the back to hold all my number die cuts. 

Easy Peasy!

Please take a few moments when your done here today to stop by my blog and check out more close ups on this project and see how you can win a little Christmas cheer from me.


Hi there, Shemaine here taking over to finish off our 12 days of Christmas. I'd like to give a big thanks to Tammy for an awesome project!


I love holiday home decor projects. So I whipped up a cute holiday NOEL banner using our Cottage Christmas collection. This banner was really quick and easy to create. For complete directions you can see this post on my blog.


I used my Martha Stewart scoring board to quickly whip up the rosettes behind the chipboard greeting.


The banner was cut using my Cricut Celebrations cartridge and I used the back packaging of our Sticker Stackers shown here


I added the finishing touch of our crystal snowflakes at the bottom of each banner 
with a touch of bling using the i-rock


We hope you've enjoyed our 12 Days of Christmas celebration as much as we have! For those of you that have been leaving comments on each post every day the wait is OVER!!! Here's our Grand Prize announcement for today:

Our Grand Prize winner will win get every tool from Imaginisce that we have given away during our 12 Days celebration, an entire collection of Cottage Christmas and....
A Cricut Cake Machine!!!


Thank you for joining us each day and for all your comments! Wishing you all a very Merry Christmas and Happy New Year from everyone at Imaginisce and the Design Team!

Thursday, November 11, 2010

It's Just Around the Corner . . .

Hello All . . . this is design team member Tammy Wark here with you today to share some festive goodness.

I know most of you are not ready to hear this yet, but Christmas is just around the corner!  With that in mind I thought I would take a visit back to my Cottage Christmas Collection and make a fun altered gift to share with you all today.

Sometime ago I purchased these tall square tubes for altering and I have been waiting to use them, seeing as I love to make good neighbour gifts for friends in the area during the holidays I thought they would come in handy.  Here is what I came up with:


I filled the tubes with festive candies and Christmas coloured
Jelly Belly's then decorated their tops!

here are a couple close-ups


Hopefully this has inspired you come up with your own good neighbour gifts and start creating for the holidays! 


Tuesday, October 26, 2010

Winner of Cottage Christmas Card Challenge Announced!!!

Hey everyone!! This is Heather from the Imaginisce design team. Back in July, Lori, our DT coordinator issued a challenge to start on your holiday cards before November. I answered that challenge and gave it again to all of you to get started.

Up for grabs was: an I-rock tool with crystals and glam rocks, exclusive i-rock tote and a Cottage Christmas paper!

Due to all of the other give aways that have been going on here on the Imaginisce blog, we somehow overlooked announcing the winner of the Cottage Christmas card challenge. So, without further delay, we are announcing the winner....Abby from Lincoln, Nebraska. Check out her blog for other great card ideas. I even spied some Cottage Christmas 6x6 card pad patterned papers on some of her cards.

So please email us and put "Cottage Christmas card challenge winner" in the subject line and we will get your goodies to you.

Thanks everyone for playing and it is still not too late to get started on those holiday cards.

So get scrappin'!!

Heather

Thursday, September 9, 2010

Take the (Cottage) Christmas Card Challenge!!!!

Hello everyone!! This is Heather again from the Imaginisce DT. A couple of months ago Lori, our DT coordinator, issued a challenge to start making your Christmas cards before November. So, for once, I actually did this and not only did I take her challenge, but I managed to get 18 handmade Christmas cards made. And last year, I don’t even remember if I mailed Christmas cards. (I know, shame on me).

So, I am going to share with you how I made mine. And believe me, if I can make cards, then you can. I am not much of a card maker, or a stamper for that matter, and I did both. With a few sheets of cardstock, 6x6 card pad, stamps, and a few punches you can make some cute handmade Christmas cards.

First the supplies I used:
Cottage Christmas 6x6 Card Pad
(3) 12x12 sheets each of (3) different cardstocks (coordinate with patterns in card pad)
(1) 12x12 sheet of white cardstock
Stayzon ink
Acrylic stamping block
Variety of Coloring Markers (I used Copic)
2” & 2 ½” Scalloped Circle Punches
I-rock tool & gems and studs
Adhesive
Foam Adhesive
Optional: Border Punches (3 styles)

Now the assembly:


1) I picked out (2) each of three different patterns of the papers in the 6x6 Cottage Christmas card pad and then picked the coordinating snag’em stamps that went with the patterned papers.

2) Then I selected three different colors of cardstock that would match all three of the patterns. I choose a light blue, Christmas red, and a kraft color. Cut (2) pieces of each 12x12 cardstock into 8 ½” x 5 ½” and then fold in half. You should have 6 of each color.

3) Save the cardstock scraps. You will use them on the cards.


4) Cut 1 ½” strips of the patterns and glue to the center of the cards width wise.


5) Punch out (18) 2” scalloped circles from the white cardstock. Stamp (6) each of the three different stamps. Color in your stamped images. Ink the edges of the scallop circles.


6) Now take the leftover cardstock strips from cutting the cards and use a border punch on them and layer over the patterned paper strip on the front of the card.


7) Decorate your card or stamped image with the i-rock tool, crystals and glam rocks.

8) Use foam tape to adhere the stamped images to the cards.


That is it!!! I used the same pattern, but the cards were all similar.

I hope you enjoyed this tutorial and get to it!! Take the challenge. Like I said, if I can do it, then you can.

Imaginisce DT member

So now we would like for you to take part of the challenge. Let us know if you have started your Christmas/Holiday cards for this year. We would love to see them as well. Up for grabs: an I-rock tool with crystals and glam rocks, exclusive i-rock tote and a Cottage Christmas 6x6 Card pad.

What you have to do to enter:
Leave a comment with a link showing us your Christmas cards you've started, or post the image on our Facebook page OR email the image to our blog email address contactimaginiscegmailcom. We'll give you a week (due date 9/20) to show us what you've started and obviously using Imaginisce products always make us happy!!

Friday, July 9, 2010

Guest Blog Post: Some Rockin' Fun!!

Hi there!!!
This is Cari posting and I'm thrilled to be guest blogging today.

I've got some fun projects to share that I created with one of my new favorite tools - the i-rock tool!!! I LOVE this thing!

I experimented with this tool a little bit as I was curious to see how it worked on other items besides paper (even though I love using it on my layouts! ).

My first little project was to add a bit of bling to a small glass vase. Yes, I said GLASS! It works great but you do have to be patient and keep the tool on the crystals for a while 'til they set.

These are the tools that I used for this project. My i-rock, the compact with the clear, pink & black crystals, the flower stencil , and a glass vase that I bought at the dollar store.

I then placed the stencil on the vase where I wanted it (you may want to use a bit of masking tape or some kind of adhesive to hold it in place) and carefully placed the crystals in the holes of the stencil. As you can see I didn't use the entire stencil design ... just the inside of the flower (circle shape).

I added a few small black ones in a circle around the pink crystals to finish it off.


Another fun project to use the i-rock on is fabric - like t-shirts, aprons, skirts, tote bags, etc. My daughter had a t-shirt that had this cute little floral design on it. Well, the Glam Rocks and Crystals that I had matched the design perfectly.

T-shirt BEFORE

T-shirt AFTER
(yes! My daughter was pretty excited to model this one!)

And now my favorite way to use the i-rock tool is on my layouts. I love the various ways it can add interest to my pages. On this layout I used the glam rocks around the corner of the patterned paper as a border.

The i-rock is also a great way to dress up punched borders as seen here. I also used the i-top tool for the center of my flowers.

Here is the finished layout. I used Splash Dance collection for this page.


I hope I have inspired you to try different things with your i-rock tool. Have fun and please make sure you share with us what you've created because we love to see what our Imaginisce fans do with our products!

Cari Locken
Imaginisce Designer

***** ***** *****

Wanna win an i-rock tool? Tell us what you would add bling to and we'll select a winner next Monday!!

Friday, June 11, 2010

GUEST BLOG POST: Splash Dance Handpieced Kite Accent Tutorial


Hi y'all (yes, I really say that. I am from the south). This is Heather, from the Imaginisce DT. Paper pieced handmade accents are all the rage right now so I have recently jumped on the band wagon and created my own little touches for my layouts. In particular I am going to show you how I made a handmade pieced kite for my layout titled "Kite Festival". In fact this tutorial was inspired by several people asking me how I made the kite that was featured in an online Club CK article titled "100 Accents Made from Paper". So I decided to do this tutorial to show you just how easy using some scraps (and a pretty cool tool) you can add your own handmade touched to your projects.


First I just sketched the basic kite shape pattern on a piece of paper. I used the corner just to make it easier.


Then I cut out my kite pattern.


Then I layered some scraps of paper that I had to meet in the center point of the kite. Don't stress about the kite looking messy at this point. It will come together.


Here I layered two thin strips of tan colored paper about 1/4" thick to cross over the center point.


Then I flipped over the kite pattern and trimmed all the excess paper from the edges.


After I trimmed the excess paper off of the kite, I matted the kite in black just so it will stand out a little more on my project.


Now for the tail you need to cut about a 10" piece of one pattern of ribbon and (5) pieces measuring 3 1/2" to 4" and (3) pieces measuring about 2 1/2" inches of another pattern of ribbon.


Tie the five pieces of the 4" ribbon along the "kite tail" piece just in one small knot. I like odd numbers so that is why I used five pieces. I spaced my tied ribbon pieces about 1 inch a part. Your ribbon kite tail will not lay flat. And that is okay. This way it will look more realistic like a real flying kite.


 Now take the three smaller pieces of ribbon and adhere them together in a layered fashion, like shown. Cover a small brad daddie with the ribbon using your i-top.


And finish the brad off. You may need to trim the ends of the ribbon off so it will fit into the brad. (Note, my cute little 2 year old assistant even helped with this part).


Now adhere the end of the ribbon from the kite tail to the bottom pointed edge of the kite, then punch a hole toward the bottom edge and push the custom made brad through.


Close up of the brad.


And you are now done!!! Seriously I think it took me 15 minutes with the help of my two year old assistant. So go on, give it a try and make your own handmade accent for one of your projects. We would love to see what you made.

Check out the Just Imagine! idea gallery for my original layout. Or you can see it in the Club CK gallery for some more close ups.  I even used the i-rock gems to simulate the wind blowing around the kite.

If you liked this tutorial, would you like to see more from the Design Team? We would love to hear from you!!

Happy Scrappin',


Products used: Cardstock: Core'dinations, Patterned Papers: Imaginisce (Splash Dance), Ribbon: Imaginisce (Splash Dance), I-top brad maker & brad: Imaginisce; i-rock & gems: Imaginisce; Adhesive: Tombow.

LinkWithin

Related Posts with Thumbnails