Pages

Showing posts with label Tutorial. Show all posts

Wednesday, July 20, 2011

Harvest Pumpkin Tutorial

We had a lot of requests come in wanting to know how to make the set of pumpkins I created for the Happy Harvest release so I put together a little picture tutorial so you can make a set for yourself. 


Supplies:
  • Clay pots in 3 different sizes - I went with the smallest one I could find and went up one size from there for the next two
  • i-bond or other fast drying adhesive
  • Petal Roller
  • 1 - 2 sheets of  Fall into Fun pattern paper
  • 1 sheet Dancing Leaves pattern paper for the curly stems
  • 1 sheet cardstock - I used Bazzill Navel
  • Happy Harvest Die Cuts
  • Twine
  • Circle cutter
Here's how to make them (click to enlarge or right click to download and save to your computer):

I am planning to use mine as candy dishes (wrapped candy) on the table by my front door or maybe I will put some pretty stones in it and use them as table decorations. What would you use them for?

Monday, May 30, 2011

Matchbook Notes Tutorial

We all love the "Happy Camper" line for creating the perfect camping scrapbook layout, but it can be used for so much more!!

Today I'm going to show you how I created this adorable 5"x5" matchbook notebook:
Supplies:
  • 1 Sheet of "Thermal Jammies" patterned paper
  • 1 Sheet of "Don't Feed The Bears" patterned paper
  • "Story Telling" Sticker Stacker
  • Notebook paper (I used copy machine paper)
  • Magnets
  • Doily
  • Button
  • Twine
  • Clips (1 for the cover & two office binder clips for to glue the notepad together)
  • Ribbon
  • Chalk Ink
  • Scallop punch (you may want another design for the flap as well)
  • Hole punch
  • Brown Pen
  • Letter die-cuts (you can download my "notes" Silhouette Studio cut file here.)
  • Adhesive (I used my ATG gun, Tombo Mono Multi, and Glossy Accents)

Instructions:
Note: I used my Silhouette (shape: "matchbook notepad simple") to cut out my matchbook, but my instructions will show you how to create the base of the notebook without a die-cut machine.
  1. Cut "Thermal Jammies" paper to 12" x 5". Punch one of the short edges of your paper with a paper punch of your choice (this will be the bottom tab) and then trim the overall length to be 11".
  2. Score your paper, starting with the punched edge, at 1", 5 ¾", and 6 ½". Fold on the score lines.
  3. Use a scrap of the same patterned paper to cover the 1" flap you've created... just flip it so the pattern on the other side (stripes) shows and punch it so it matches the punch you originally used. Ink the edges and folds of the notebook.
  4. Cut a ¼" piece of brown striped paper off of the edge of the Sticker Stacker sheet. Add that to the flap along with a button.
  5. On the back side of the flap place a magnet on the flap and onto the front of the notebook where they meet. (I used Basic Grey magnets.)
  6. Adhere a doily to the cover. Because my magnet was under the delicate parts of the doily, I added a drop of Glossy Accents over the doily that covered the magnet so that it would not rip.
  7. Scallop punch a 4 ¼" x 1" piece of "Don't Feed The Bears" patterned paper. Adhere that to the bottom edge of the sticker and then adhere it to the cover.
  8. Use a die-cut machine to cut out "notes" out of the same paper...I used my Silhouette and you can download my cut file here. Adhere it to the front of the sticker. Add some faux stitches around the scallop under the sticker and the "notes" die-cut.
  9. Use a small hole punch to take a little "bite" out of each side of the cover of the notebook so that when you wrap the twine around it it won't slip. Tie the twine into a bow.
  10. Add the clip with ribbon tied to it to the sticker.
  11. To create the actual notebook paper that goes inside, cut a stack of paper to 4 ½" x 4½" ( I used about 40 sheets) and place a binder clip or two onto it to keep it steady. Apply a thin layer of Tombow Mono Multi to one edge and allow to dry and then remove the binder clips and adhere it to the inside of the notebook.


Here's how the inside will look when you have everything in place.

I hope you enjoyed this tutorial! Stop by my blog to enter my drawing for a big Imaginisce goodie box!

Monday, May 16, 2011

Tool Time and the i-bond!

Hey everyone, it's Heather and I'd like to welcome you to the 2nd installment of our Tool Time series.  This is our time to showcase different Imaginisce tools while featuring tips, tricks, and project ideas to get the most out of your tools. Or if you are new to Imaginisce's amazing pink tools, perhaps you will be inspired to try them out!

Today we will be featuring the i-bond cordless glue gun. We've heard how much you love it but we've also heard you asking about ways to integrate it and the colored glue sticks into your projects.
 

Doesn't this tool and those gorgeous colored glue sticks look like so much fun?  Check out this video I created to show you a few of the things I have created with the tool as well as other ideas you might want to try.  This video is packed with multiple projects, tips, techniques and ideas. So without further ado, here's some things I'd like to share about the i-bond....


Here's some photos of the projects I made in the video.

Little Cutie Girl Card - flowers embellished with purple glitter glue using the i-bond

Snag 'em Stamps Sweet Baby Doll stamped in pink glue using the i-bond

Little Cutie Boy line - buttons embedded in brown glue using the i-bond
 
 
GIVEAWAY TIME
I'd love to hear any additional ideas you may have in the comments below for your chance to win your very own i-bond!!!!

Thanks for stopping by today!
xoxo Heather

Monday, March 7, 2011

Treat Bag Toppers Tutorial

 Treat Bags
 My goodness weekends seem to come and go by so quickly and now we are at the start of another week. Today we are going to hand over the blog to one of our talented design team members Aphra Bolyer who has kindly offered to show us how she made those adorable Animal Cracker Treat Bags we showcased during the Animal Cracker release party week. We've had so many people contact us wanting to know just how Aphra put those fun little packages together that we whispered in Aphra's ear and she said she'd be more than happy to share her secret. So please give a round of applause as we pass the hat to Aphra...

Hi, it's Aphra here - I often find myself needing a quick, but cute treat for my son's preschool class or for birthday party favors or for a holiday. Well, you know, often! I've created an easy and inexpensive treat bag for just such occasions. Here's some Animal Crackers treat bags that I made for my son's class.


Since those are long gone, I thought I would use the new Berrylicious line for today's tutorial. These little cuties will be for my son's school Easter party. Ready?
Step One: Gather your supplies. I used a 4.5" tag cut with my Cricut Expression Birthday Bash cartridge, but you could just as easily use a 4.5" by 4" piece of cardstock or patterned paper. You'll also need a clear zip top bag. I used a 4" x 6" jewelry bag (about 200 per box for just a few dollars). If you use a different sized bag, just change the dimensions of your tag. You'll also need some stickers and ribbon. Oh, and your treat!


Step Two: Add topper. Fill your bag about two-thirds full with whatever treat you want. Cut your tag, score it and fold it in half. Use adhesive to attach it to the front and back sides of your bag enclosing the zip top inside.


Step Three: Embellish. For me, that usually means one sticker and some ribbon. The kids are going to tear into it as soon as they can, so I wouldn't use too many preciuos embellishments. If you have a lot to make, you may even want to use our amazing Snag 'Em Stamps. It might even be fun to let your kids do the coloring to help with the treats.


Step Four: Add note. We always write a little note on the back of the topper saying who it's to and who it's from.


Super quick, easy, and inexpensive, right? And I can think of so many different uses for this little idea. They don't just have to be for kids. I plan to make my co-workers some of these with some bath salts in them for Mother's Day. And for my older son, I'm thinking Pokemon cards. Oh, and my mom would like tea bags in hers. Anyway, you get the idea.
Thanks for stopping by! 

So hands up who's going to make these fun little bags?
Well how are you going to make them is you don't have any cute Imaginisce products to use?
Guess what we're giving away today?
The Entire Berrylicious Collection
So one lucky follower can make their own treat bags and hopefully send one to us, we'll be waiting!
We'd like you to stop by Aphra's blog and leave a message to let her know you loved her tutorial, then pop back here and tell us what treats you'll be putting in your goodie bags!

Winner will be announced this Friday

Wednesday, October 6, 2010

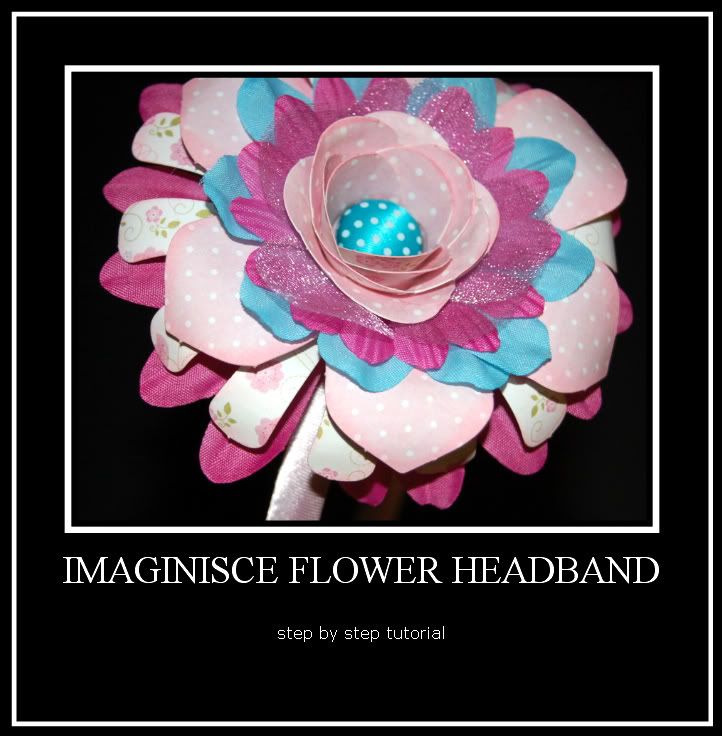
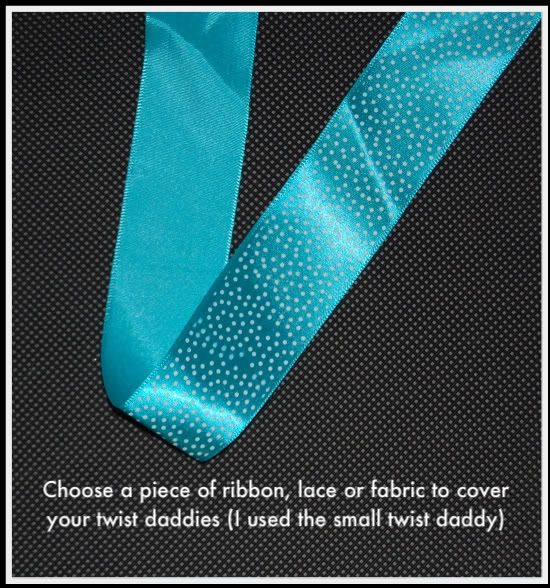
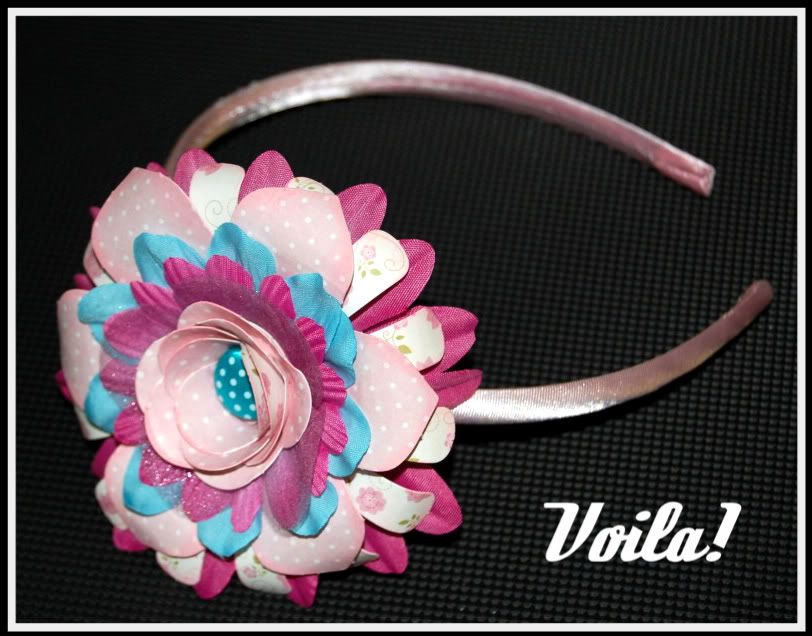
Fun Headband Tutorial

Good Morning Everyone!

My name is Tammy Wark and I will be your designer today.

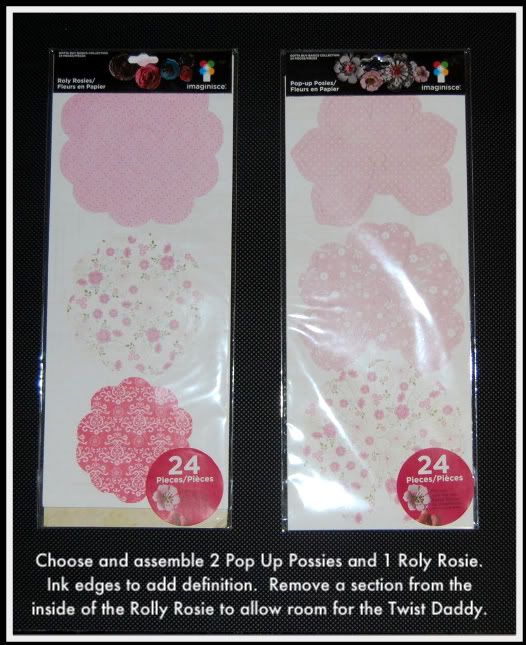
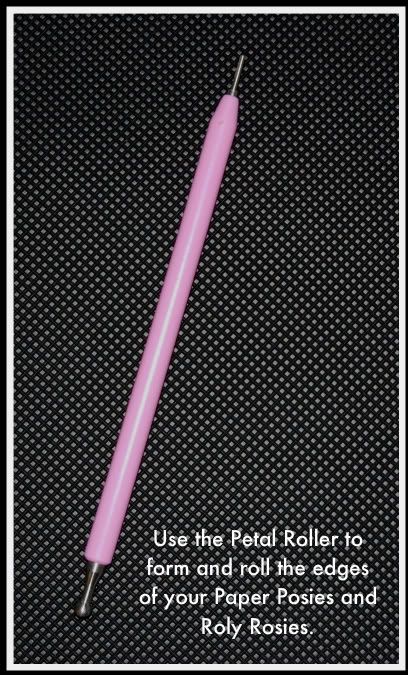
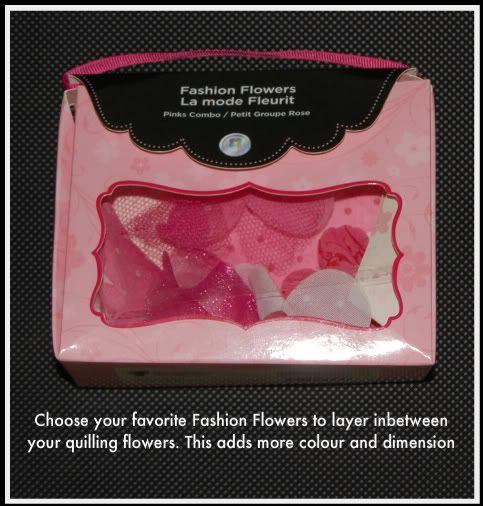
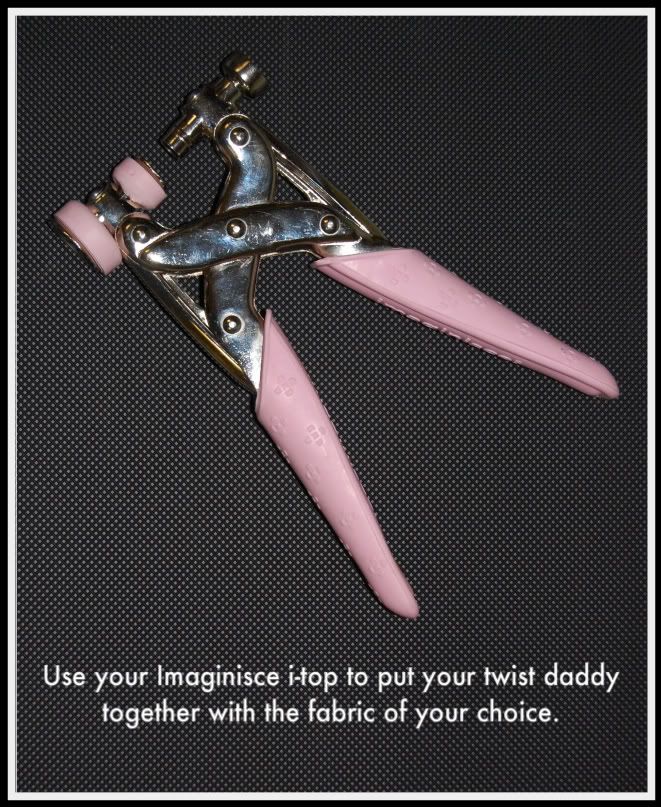
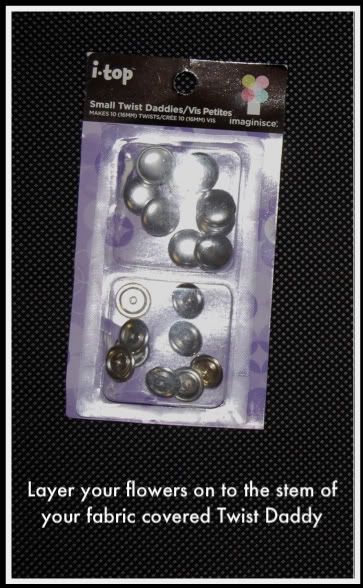
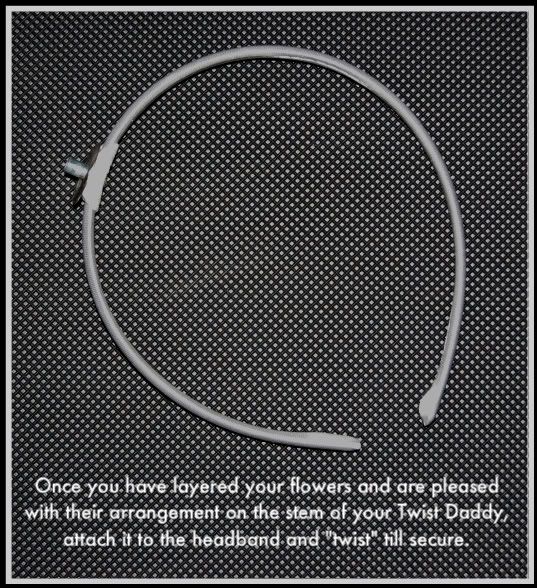
I am so excited to be here and to share a super fun little project with you.  Imaginisce has been making some of the coolest new products and their i-top tool just keeps getting better and better with all its new accessories.  Recently a new set of daddies were released called "Twist Daddies" and these are by far my favorite to date!  Here is a headband tutorial that is sure to be the envie of every little girl . . .


Now this is my first tutorial so I sincerely apologize if I missed anything . . . if I did please feel free to let me know ;o)  and if you head on over to my blog today and leave a comment on this post you will be eligible to win some Imaginisce goodies courtesy of moi!!!

Thanks so much for stopping over today.
Happy Scrappin
from your DT Member Tammy!

Tuesday, August 31, 2010

i-rock Templates: Learn to Make Your Own

Everyone loves our i-rock templates, we know because we keep selling through them and having to bring in more. Stores are telling us these are among the best selling item in their stores. Everyone loves a something they can use over and over again and have cute designs. Imaginisce actually has three different designs currently. We are working on next designs for next year. Be sure to keep reading to see how you can create your own or win one!! 
Here's what the end result of the template design looks like when you remove it and  the gems are left behind...beautiful don't you think?


The following pillow and card designs used the Swirl Templates to create the beautiful flourish pattern on them. The great thing about our templates is they're made from a HEAT RESISTANT material so that you can touch it with your i-rock tool and not melt the material.

Another Tip: In stead of leaving the template in place and dropping each stone in and setting it inside the holes of the template, you can simply mark where the holes were with a pencil and go back and add the stones of your choice.

We've had tons of requests for more templates and we're working on some amazing designs hopefully to release for next year. But in the meantime, we've got a couple great ideas from our cute friend over at PinkCricut. She created two videos showing you how to create your own templates. 

The first video shows you how to use your Crop-A-Dile hole punch to create your template. Here's a template design we worked up for you so you could try this technique out yourself. Click on the image to make it larger and open in new window and right click on it to save it to your computer to print (you can resize it too). Enjoy!!


 You could also use one of my favorite tools to for this same technique. Some call it a Japanese Screw Punch and others call it an Anywhere Hole Punch. Simply print out your design and punch holes along the lines to create your gem pattern. 


The second video shows those of you that have a Gypsy and Cricut how to easily create your own template from designs you have stores on your Gypsy. I've tried this and loved how amazing the designs turned out when I was finished.

FREE STUFF: 
Let us know which of the PinkCricut videos you think you'll try and we'll giveaway one of our Template Kits and a new i-rock tool. Be sure to leave Sarah a comment so she knows you stopped by to check out her videos!! We'll announce all winners from previous weeks each Monday.

Monday, June 7, 2010

To Love & Cherish: Rolled Butterfly Tutorial

The very talented Samantha Hauzer created this darling tutorial to teach all of us how she created these fun rolled butterflies on her "Beautiful" layout with the To Love & Cherish layout. 

Imagine how fun these butterflies would be on bridal shower invitations or wedding album decorations. Every June I think of weddings and the To Love & Cherish Collection is the perfect paper line for any special event!
="" class="separator" style="clear: both; text-align: center;">

Butterfly Tutorial 1. Cut a piece of paper into a long triangle shape, about 1 inch wide (doesnt really matter how long, but the longer the piece of paper, the fatter it will be)  You can make the paper wider if you want a longer body for your butterfly.

2. Roll the paper up tightly, starting from the wider end. Once it is all rolled up, glue the thin end down to hold it all together.
 3.  To make the wings of the butterfly, cut out one petal so you are left with just the 4 petals in a wing shape.
 4. Glue the body onto the wings.
 5. Add antennae cut from paper, and beads or bling to make a trail, so it looks like it is flying off your page.

LinkWithin

Related Posts with Thumbnails